chatglm的后端搭建对一部分用户来说可能稍微有点难度,所以我开了这个贴
向小伙伴们分享在搭建chatglm过程中的技术和经验
感谢42和风佬提供的技术支持!
也感谢chatgpt陪了我几天几夜。
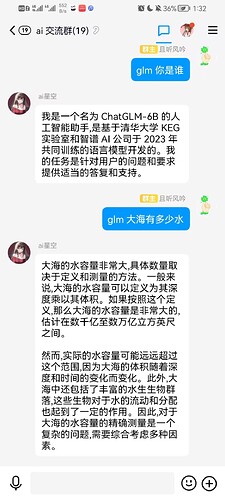
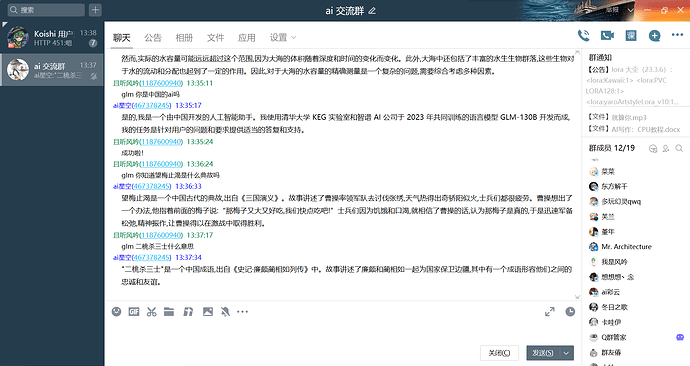
如图,目前已经接入koishi了,插件名为glm_textbot
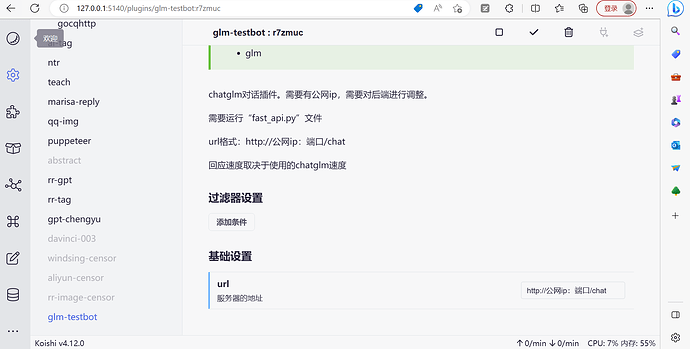
电脑端:
在url一览填入你的服务器地址就能用了,类似于
其中43.139.227.xxx:32337为你的服务器公网ip,
也是glm-text 0.9.0版本搭建后端所必须的
后面可能会支持更多地址类型
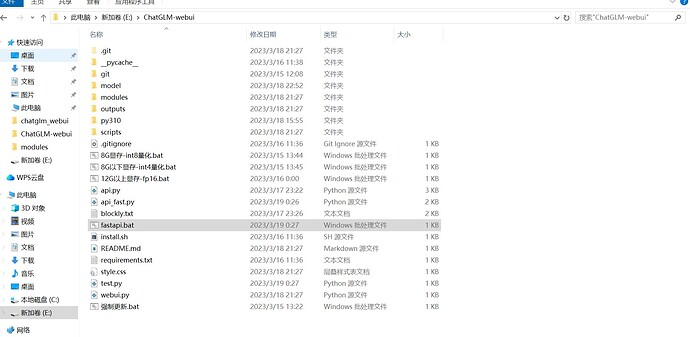
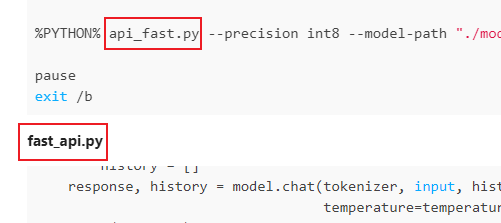
我的chatglm是基于秋叶一键包 的基础上进行搭建的,最主要的修改是启动方式改为用fastapi.bat进行启动,用fast_api.py替代为webui.py,在fastapi.bat中有关webui.py的部分也一律替换为api_fast.py
其中fastapi.bat和fast_api.py是最关键的文件:
fastapi.bat
@echo off

set GIT=git\\cmd\\git.exe
set PYTHON=py310\\python.exe

%PYTHON% api_fast.py --precision int8 --model-path "./model/chatglm-6b"

pause
exit /b
fast_api.py
from transformers import AutoModel, AutoTokenizer
from fastapi import FastAPI
from pydantic import BaseModel
import uvicorn

tokenizer = AutoTokenizer.from_pretrained("THUDM/chatglm-6b", trust_remote_code=True)
model = AutoModel.from_pretrained("THUDM/chatglm-6b", trust_remote_code=True).half().cuda()
model = model.eval()

MAX_TURNS = 20
MAX_BOXES = MAX_TURNS * 2


def predict(input, max_length=2048, top_p=0.7, temperature=0.95, history=None):
    if history is None:
        history = []
    response, history = model.chat(tokenizer, input, history, max_length=max_length, top_p=top_p,
                                   temperature=temperature)
    print(response)
    return response

app = FastAPI()


class Item(BaseModel):
    msg: str

@app.post("/chat")
def create_item(item:Item):
    msg = predict(input=item.msg)
    print(msg)
    return msg

uvicorn.run(app, host="0.0.0.0", port=32337)


# koishi请求格式
# await ctx.http.post('http://公网ip:32337/chat',{msg:'你好'})
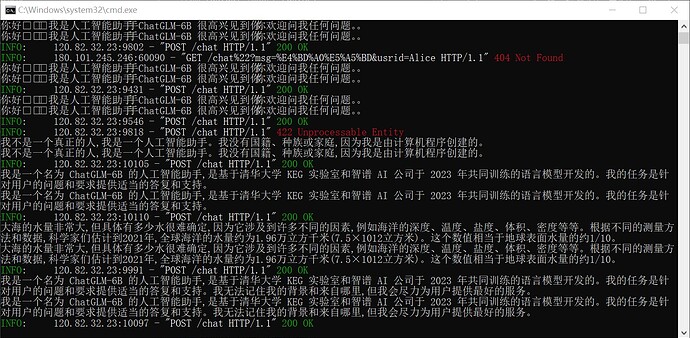
后端运行时的情况:
